[Papercraft Objects: Printed Templates]

Looking Cool Joker
For this week’s project we’re starting a new milestone project. Because of this we were challenged with creating an object that meant something to us and for me I decided to pick two objects that related to my love for gaming. I choose Joker’s mask and dagger from the game Persona 5.
I tried to document everything that I did along the way to show my process. While this week I pretty much only focused on the mask, I did start my work on the knife. However this class the template for the mask was finished.

Process Work!


Modeling the Mask!


Break down of pieces:
Eye socket:
For this pieces its located in the middle of the mask's eye socket. Because of its awkward positioning we are unable to unfold it in the middle meaning we have to separate this piece.
The unfolding is actually pretty simple if you are able to write down your process of how you unfold, if you reference some of my paper notes I wrote where the strip starts and ends as a means to keep track when I inevitably put the pieces together.


For our little beak piece here we just create a simple structure, though we will need to do a little frankensteining as this shape isn't something rhino can poof out of thin air. It needs to protrude off the mask as it's going to be resting over the bridge of the nose.
When we eventually move this into "Make2D" we will need to separate these pieces but we can add tabs to stick them together
The Base Mask:
Finally we move into the base mask, this is one of the simpler steps. If you're looking at this piece and are confused Ill let you in on the secret, we're breaking the mask in half! Why you ask?


Lets look at a reference,
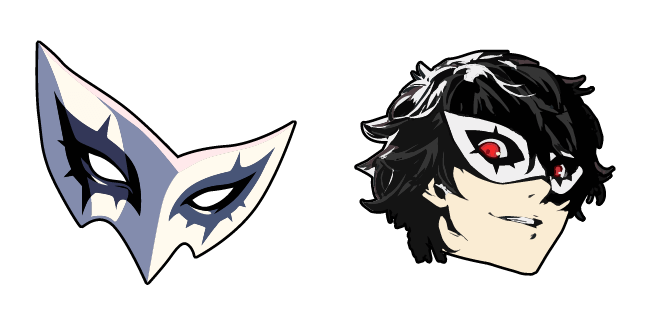
As our reference here shows the mask has a sort of fold in the middle allowing for it fold in the direction of the face. While doing my papercraft research last week I looked into wet folding origami. If you're catching my drift I wanted to test something out. In breaking the mask into two parts I want to try creating a curve to both parts before connecting them. While adding the curve will give it a more authentic look from the game the broken up into two pieces aspects will also allow me to have it wrap around the direction of the face.
Final Detail:

Finally you probably noticed the black eye liner accenting the eyes. This piece is the easiest piece to add as it will just be a layer of cardstock added to the mask and not a unfolded shape we need to add.
Lets make it 2D!
Time to make this model 2D and get it ready for the printer,


Comments
Post a Comment